
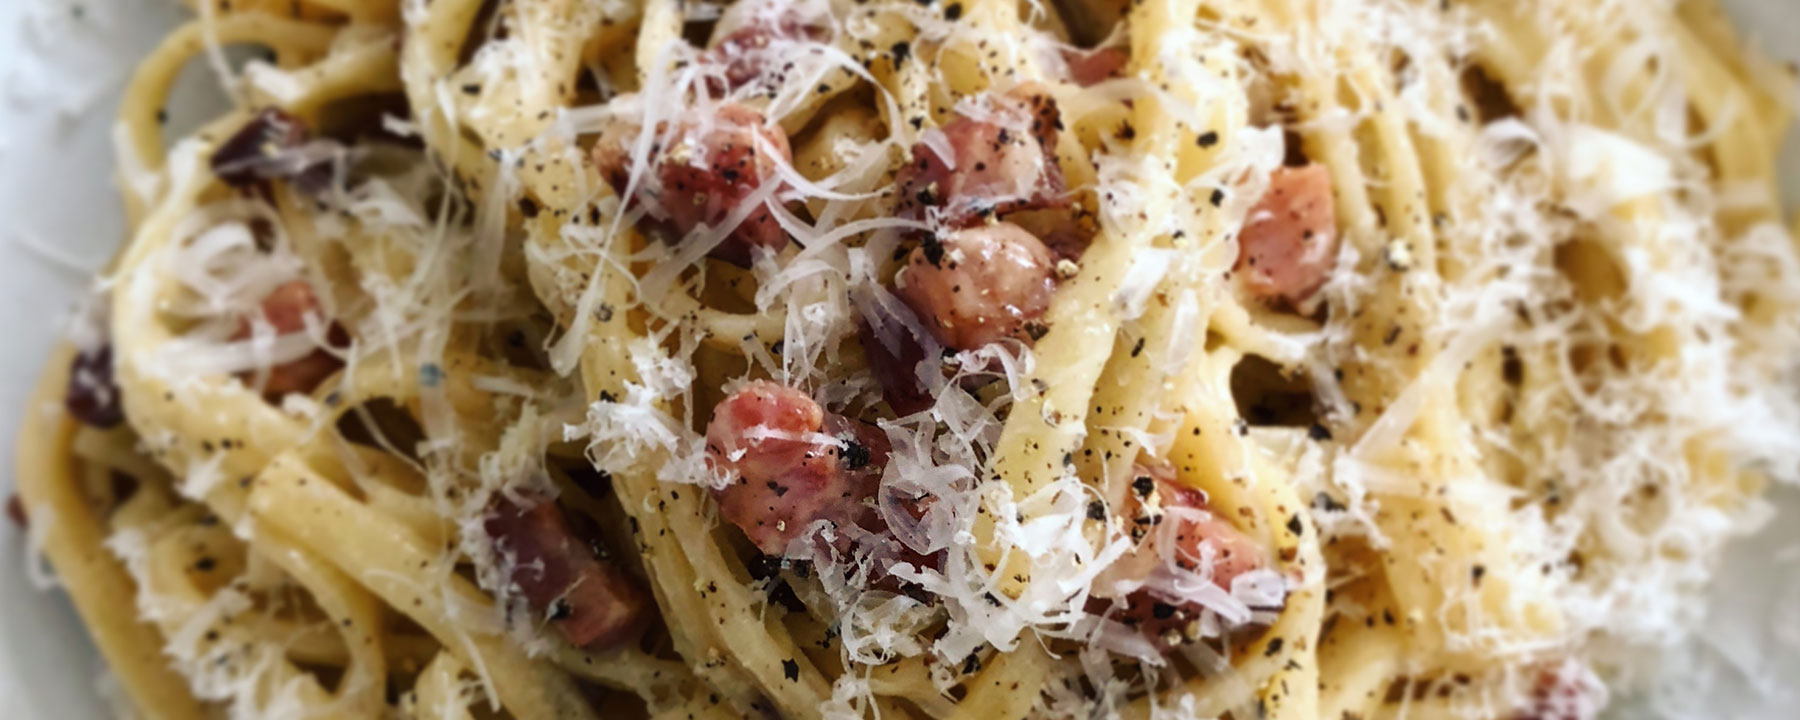
Spaghetti Carbonara
Follow this simple, 10 minute recipe for perfect Spaghetti Carbonara at home

Olive tapenade
Make your own tasty tapenade, it makes a great accompaniment to flatbreads and crostini
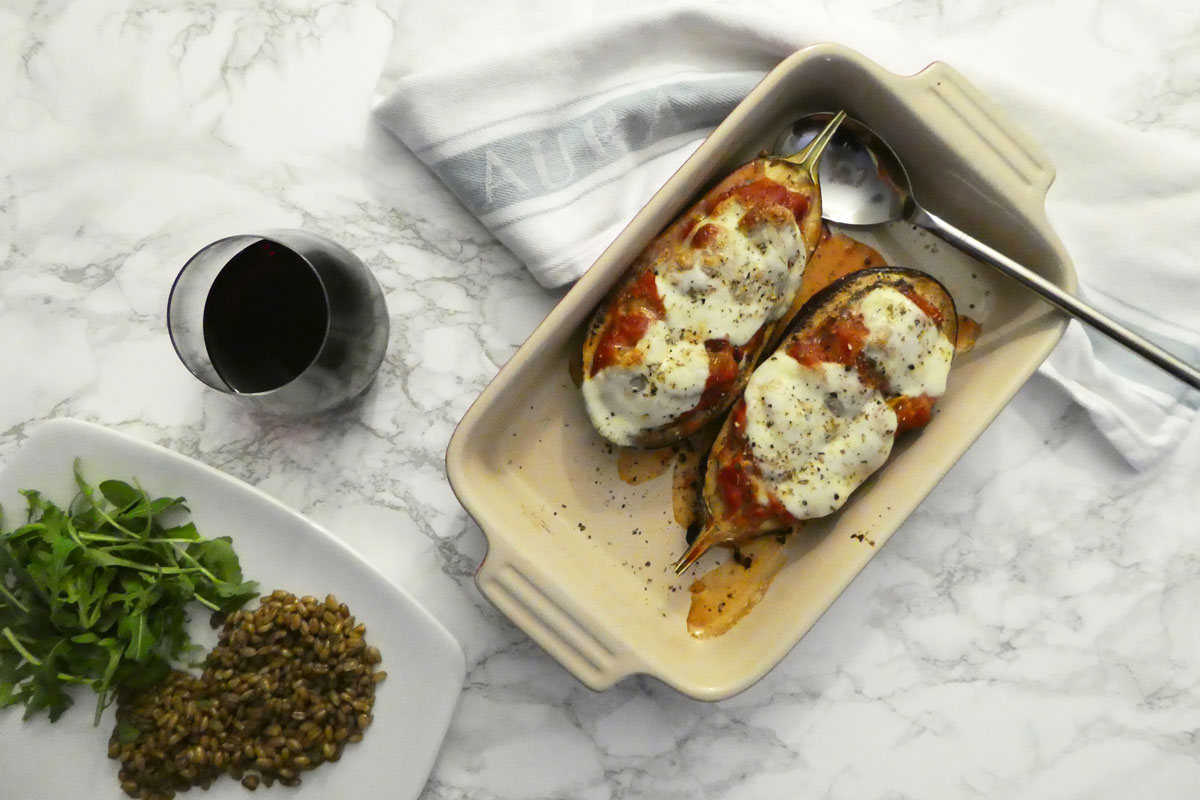
Easy Melanzane alla Parmigiana
This meat free dish is a quick and easy way to replicate Melanzane alla Parmigiana

Mushroom and thyme tagliatelle
A meat free pasta dish packed with flavour and it only takes 15 minutes to make!
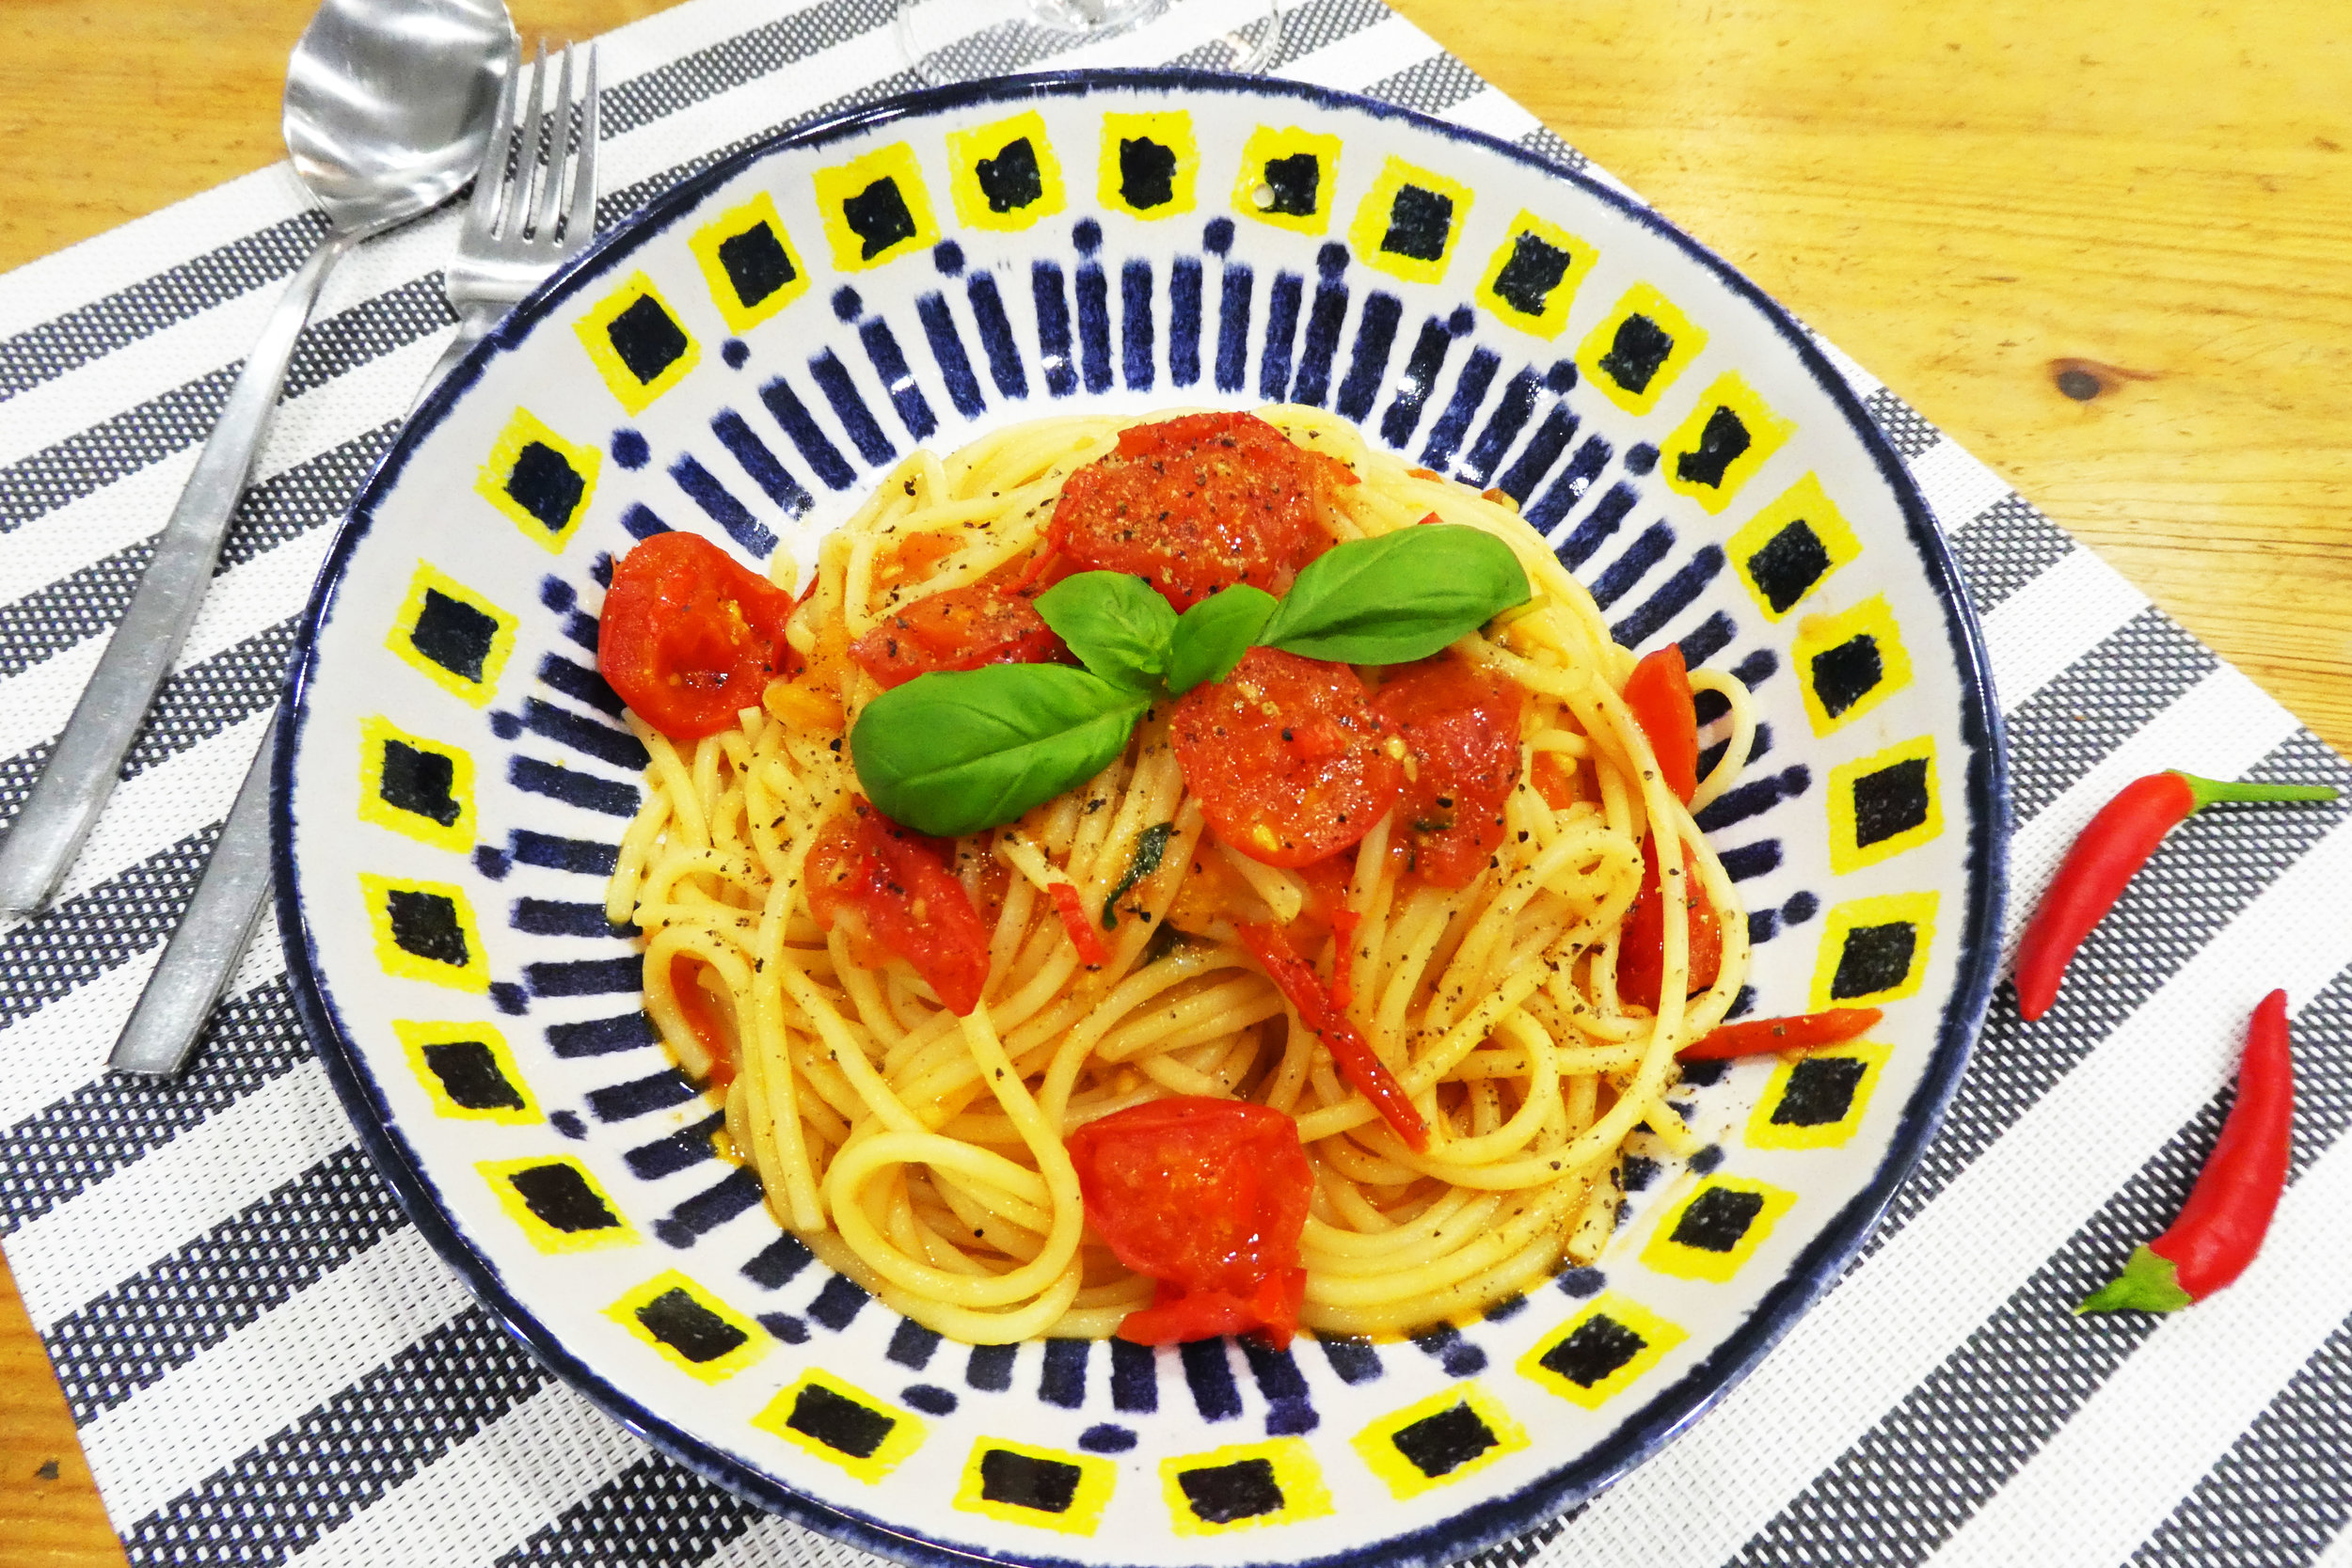
Spaghetti with tomato and chilli
Simple sauces taste the best! Try this quick and tasty pasta dish to get tastebuds tingling